When you scan a document, or if you have already saved a document, you have the option to cut it. If you want to know how it works follow the next steps:
Cut a newly scanned document
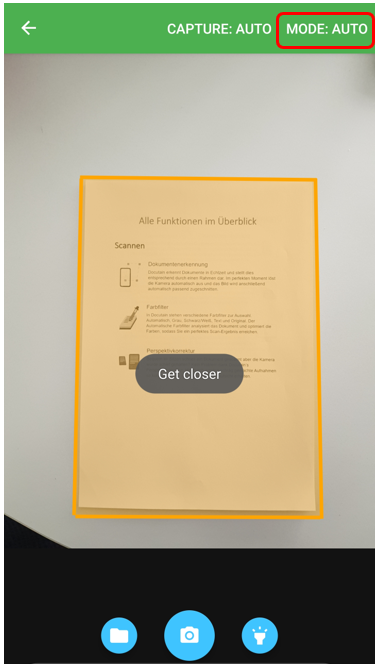
Automatic scan mode:
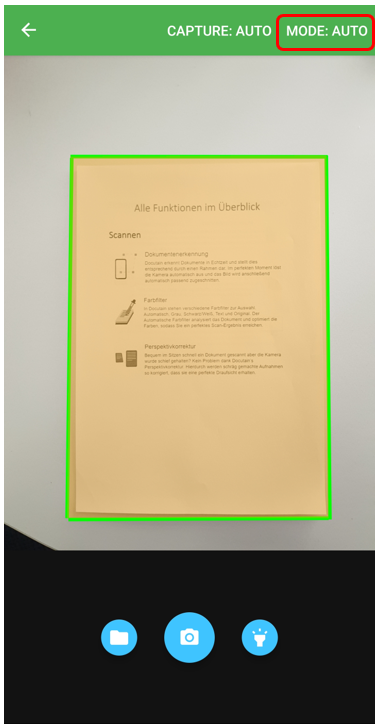
Scan your document. In automatic mode, your document is automatically recognized and marked with an orange frame. When the frame turns green, the document is in focus and the camera automatically captures the image. The document then automatically gets cut.
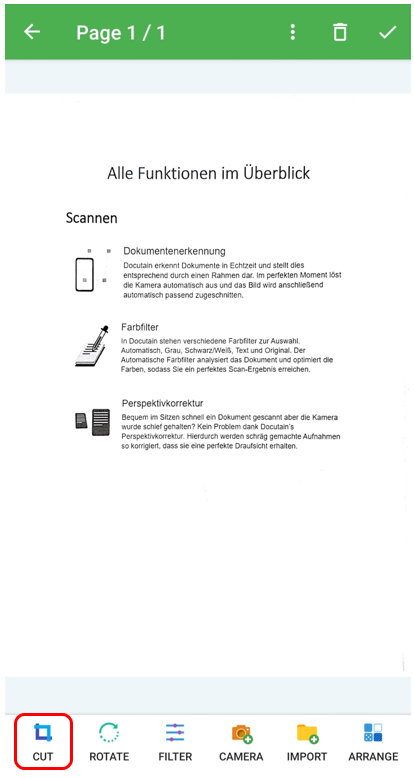
Afterwards, you have the possibility to cut your document manually by using the toolbar.
Please tap on the "Cut-symbol" at the bottom left.
Manual scan mode:
If you have activated the manual scan mode, scan your document.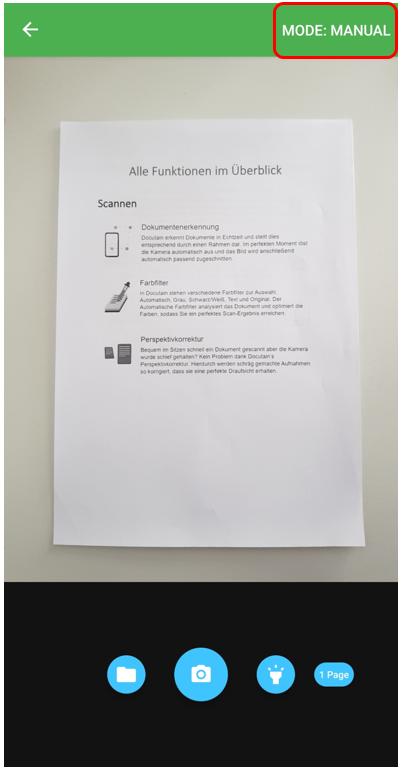
Afterwards you have the possibility to cut your document to size.
In addition to the possibility to cut the document manually, there are two other possibilities for cutting. You can either use the "arrow symbol" to ensure that the cutting points cover the entire document, or the "magnet symbol" to ensure that your document is optimally cut.
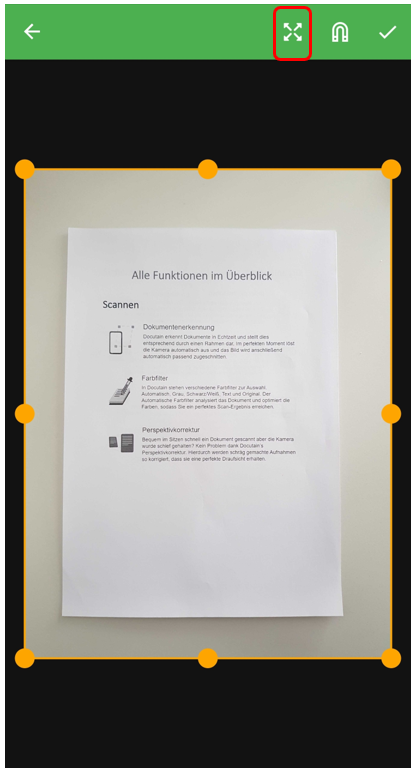
After you have set the frame to your liking, please tap on the "checkmark" to cut the document and proceed.
Here you also have the possibility to cut your document to size again using the toolbar.
Please tap on the "Cut symbol" at the bottom left.
Cut an already saved document
Open the document and put it into edit mode by tapping the "pencil symbol".
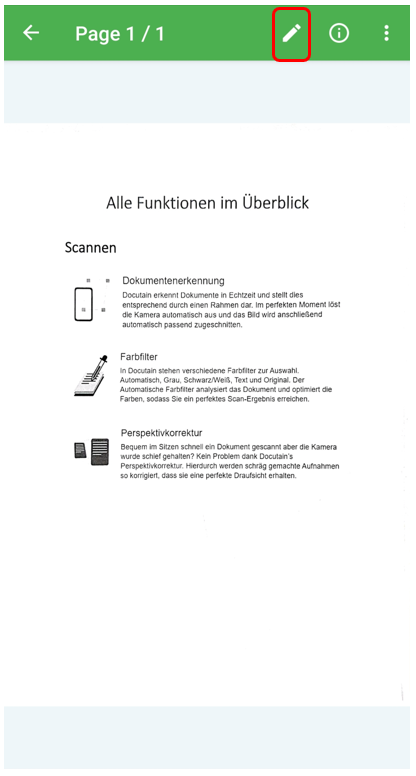
Afterwards you can use the toolbar to cut your document.
Please tap on the "Cut symbol" at the bottom left.
Comments
0 comments
Please sign in to leave a comment.